- Products ProductsLocation Services
Solve complex location problems from geofencing to custom routing
PlatformCloud environments for location-centric solution development, data exchange and visualization
Tracking & PositioningFast and accurate tracking and positioning of people and devices, indoors or outdoors
APIs & SDKsEasy to use, scaleable and flexible tools to get going quickly
Developer EcosystemsAccess Location Services on your favorite developer platform ecosystem
- Documentation DocumentationOverview OverviewServices ServicesApplications ApplicationsDevelopment Enablers Development EnablersContent ContentHERE Studio HERE StudioHERE Workspace HERE WorkspaceHERE Marketplace HERE MarketplacePlatform Foundation and Policy Documents Platform Foundation and Policy Documents
- Pricing
- Resources ResourcesTutorials TutorialsExamples ExamplesBlog & Release Announcements Blog & Release AnnouncementsChangelog ChangelogDeveloper Newsletter Developer NewsletterKnowledge Base Knowledge BaseFeature List Feature ListSupport Plans Support PlansSystem Status System StatusLocation Services Coverage Information Location Services Coverage InformationSample Map Data for Students Sample Map Data for Students
- Help
Get started
This guide walks you through the first steps to build apps with the HERE SDK. The HERE SDK is tailored to bring the best and freshest assets from the HERE platform to your mobile applications.
Before you begin, make sure you have read the following:
Info
In order to start development, you need to get the HERE SDK package. It contains:
- The Android Archive (AAR). This is the HERE SDK binary to include in your app(s).
- Several documentation assets and example apps.
- The HERE_NOTICE file that needs to be included in your app. See our open source notices.
You have two choices to get the HERE SDK package:
- Register or sign in on here-tech.skawa.fun and download the HERE SDK package from your projects and account page.
- Register or sign in on the HERE platform portal and download the HERE SDK package: Browse to the edition of your choice and click the Get Now button. Note that the package will download in the background. Be patient, it may take a while.
As a next step, choose a plan:
You can freely start using the HERE SDK. An overview of the available base plans can be found on the HERE Base Plan Pricing page. More details on the plans can be found in our pricing FAQs.
Depending on your plan the HERE SDK charges based on the number of transactions per month and other parameters such as monthly active users (MAU).
More information can be found in the Commercial Terms & Conditions.
Get your credentials
The HERE SDK requires two strings to authenticate your app:
- ACCESS KEY ID (
access_key_id): A unique ID for your account. - ACCESS KEY SECRET (
access_key_secret): A secret key, which is shown only once after creation time. Please make sure to note it down before leaving the page.
No other credentials or tokens are needed to use the HERE SDK.
You can register and manage your app as described in the Identity & Access Management guide. You can acquire credentials for you plan either from here-tech.skawa.fun or on the HERE platform portal:
- On here-tech.skawa.fun, after creating your project, generate an app to obtain an access key ID and access key secret. You can either choose an existing project or Select a plan for a new project. Then scroll down to the HERE SDK product family and click Create a Key.
- Alternatively, on the HERE platform portal go to your apps page and register a new app. Once registered, you can create credentials.
Your credentials will work with all example apps you can find on GitHub. For the Navigate Edition you need to contact your HERE representative to generate a set of evaluation credentials.
When you obtain your credentials, also a here.client.id or an APP ID is shown. These IDs are not needed by the public APIs of the HERE SDK, but they can be useful when contacting the HERE support team.
See also the below section Authenticating Applications to learn more details on how to set the credentials for an app.
App credentials and project scope
When you plan to use the same credentials for multiple apps, then you also need to set a scope to differentiate your apps in our system. If you use your credentials only for a single app, then this is not needed.
Try the example apps
The easiest way to get started, is to try one of the many example projects that are available for the HERE SDK.
Choose an example of your choice, then:
- Add the HERE SDK framework to the app's
libsfolder. - Insert your HERE credentials (
access_key_idandaccess_key_secret) in theMainActivity.javafile.
Now you are ready to open the project with Android Studio and you can instantly execute the app on your device or simulator.
Note
Did you know that almost every topic of this Developer Guide is available as executable app?
Feel free to experiment with the code of the examples. You can also follow the below guide to get a more thorough introduction on how to develop apps with the HERE SDK.
Create a new Android project
As a very first step-by-step example, we will develop a "Hello Map" Android application that shows - yes! - a map. If you want to integrate the SDK into an existing application, you can skip this step. No specific SDK code is involved here. We recommend using Android Studio as the IDE. If you are new to Android development, please follow the guides on developer.android.com to help you get started with the first steps.
Note
The example code for "HelloMap" is available from here.
Start Android Studio (for this guide, we have used version Dolphin | 2021.3.1 Patch 1) and create a new project by selecting:
- Start a new Android Studio Project.
- Choose Phone and Tablet, select Empty Activity and click Next.
- Provide a project name, e.g. "HelloMap" and select Java or Kotlin as the language. For the example below, we have chosen Java.
- Next to "Minimum API level", set API 21 as the minimum Android SDK.
- Make sure an appropriate directory is chosen in "Save location" and click Finish to continue.
We recommend to use AndroidX support libaries. If not done already, in Android Studio click Refactor -> Migrate to AndroidX.
Once the wizard finishes, make sure to build the plain project and execute it on an emulator (or on a device). If all goes well, you should see the "Hello World" text.
Say hello map!
Once we have a working Android application, it's time to include the HERE SDK and to show a map on your emulator or device. Here's an overview of the next steps:
- Adapt your gradle script to integrate the HERE SDK.
- Set required credentials and permissions.
- Initialize the HERE SDK.
- Add a map view to your main activity's layout file.
- Add the code to load your first map scene.
Note: While all of the functionalities of the HERE SDK are accessible from the emulator, usage of a real device is strongly recommended. The overall performance will be better, and some features like gestures are just easier to use on multi-touch enabled hardware. The rendering of the map view is optimized for mobile device GPUs.
Let's begin with the first step to see how we can add the HERE SDK to our project.
Integrate the HERE SDK
On here-tech.skawa.fun you can find the latest release artifacts including the HERE SDK framework archive to include in your application (named xx.yy.zz.release_date).
Info
We do not yet provide artifactory support. This means that you must manually download and integrate the HERE SDK library (AAR). We plan to add SDK Dependency Management via Maven for a future release.
Copy the HERE SDK AAR file (*.aar) to your application's app/libs folder (as specified in the app's build.gradle file).
Since the HERE SDK encourages the use of Lambda expressions, Java 8 or newer is required. Add the following inside the android closure of the app level's build.gradle file to desugar the output of the javac compiler:
    compileOptions {
        sourceCompatibility JavaVersion.VERSION_1_8
        targetCompatibility JavaVersion.VERSION_1_8
    }
Note that this is usually added by default when you create a new Android Studio project. If it is not added, please add it manually.
Then extend the dependencies closure in the same build.gradle file to make sure *.aar files are included, by adding the following:
implementation fileTree(dir: 'libs', include: ['*.jar', '*.aar'])
Note
Note that this guide is based on HERE SDK version 4.15.3.0. If your AAR version is different from the version used for this guide, the steps may vary and you may need to adapt the source code of your app.
Now it's time to click the Sync button ("Sync Project with Gradle Files") to integrate the SDK.
Set your HERE credentials
When using the HERE SDK, your application must be authenticated with a set of credentials.
Info
Tip: In the Key Concepts section you can find more ways to initialize the HERE SDK.
Once you have your credentials at hand, add your set of credentials programmatically when initializing the HERE SDK (see next step).
Note: The credentials are not tied to the package name or the application ID of your app, but to the account used to obtain the credentials. When you plan to use the same credentials for multiple apps, then you also need to set a scope to differentiate your apps in our system.
Initialize the HERE SDK
The HERE SDK is not initialized automatically. Instead, you can freely decide at which point in time the HERE SDK should be initialized. Initialization happens synchronously on the main thread and takes around 100 ms.
Note
Initialization of the HERE SDK will be successful even if your credentials are invalid. The best way to check if your credentials are valid is to try a feature engine. Invalid credentials will result in a dedicated error enum value. Note that certain features may require more rights than others. For example, the credentials obtained for the Explore Edition will result in an error when being used with the OfflineSearchEngine - which is not part of the subset of the Explore Edition.
Initialize the HERE SDK by executing the following method before you want to use any feature of the HERE SDK:
private void initializeHERESDK() {
    // Set your credentials for the HERE SDK.
    String accessKeyID = "YOUR_ACCESS_KEY_ID";
    String accessKeySecret = "YOUR_ACCESS_KEY_SECRET";
    SDKOptions options = new SDKOptions(accessKeyID, accessKeySecret);
    try {
        Context context = this;
        SDKNativeEngine.makeSharedInstance(context, options);
    } catch (InstantiationErrorException e) {
        throw new RuntimeException("Initialization of HERE SDK failed: " + e.error.name());
    }
}
Make sure to insert correct credentials for key and secret. By calling makeSharedInstance() you initialize all what is needed to use the HERE SDK. The core class of the HERE SDK is called SDKNativeEngine. Under the hood, this instance is used by any other engine that is offered by the HERE SDK.
Make sure to call this code on the main thread.
Note
If you migrate from an older HERE SDK version, prior to 4.12.1.0, please also remove the credential tags (if any) from the AndroidManifest.
Note that initialization requires to set an android.content.Context. An ApplicationContext can also be set, but is not required. The Context is only required to set internally the default path to the map cache.
Note
If you migrate from an older HERE SDK version, prior to 4.12.1.0, make sure to remove the credential tags (if any) from the AndroidManifest file, at first. Then change initialization to the above two steps.
Below we show an example how to call initializeHERESDK() in your MainActivity's onCreate() method before accessing the MapView from your layout.
Similarly to initializeHERESDK(), you can also free resources by disposing the HERE SDK:
private void disposeHERESDK() {
    // Free HERE SDK resources before the application shuts down.
    // Usually, this should be called only on application termination.
    // Afterwards, the HERE SDK is no longer usable unless it is initialized again.
    SDKNativeEngine sdkNativeEngine = SDKNativeEngine.getSharedInstance();
    if (sdkNativeEngine != null) {
        sdkNativeEngine.dispose();
        // For safety reasons, we explicitly set the shared instance to null to avoid situations,
        // where a disposed instance is accidentally reused.
        SDKNativeEngine.setSharedInstance(null);
    }
}
Below we show an example how to call disposeHERESDK() in your MainActivity's onDestroy() method.
Info
Tip: In the Key Concepts section you can find more ways to initialize the HERE SDK.
Add the map view
Now that we have the SDK integrated into the project and added the required permissions and credentials, we can add a new MapViewLite instance.
Note
The map view is called 'MapViewLite' due to its special light-weighted rendering architecture that is optimized for resource-constrained devices. The HERE Rendering Engine is only available as part of the Explore Edition or the Navigate Edition.
Open the layout file of the MainActivity (usually named activity_main.xml) and remove the "Hello World" TextView (assuming you followed Android Studio's wizard). By default, it created a ConstraintLayout where we can place the map view. Any other layout parent will suit too. Add the following piece of code:
<com.here.sdk.mapviewlite.MapViewLite
   android:id="@+id/map_view"
   android:layout_width="match_parent"
   android:layout_height="match_parent">
</com.here.sdk.mapviewlite.MapViewLite>
A ConstraintLayout has the advantage that it offers a flat view hierarchy and it works well with Android Studio's Layout Editor, but this is all up to you. The SDK's MapViewLite behaves exactly as you would expect from any other Android View.
Apparently, we create the map view from our layout file. We need to also initialize it; to do this, update the onCreate() method in your MainActivity (or any other Activity where you want to show a map view) so that it looks like the following:
private MapViewLite mapView;

@Override
protected void onCreate(Bundle savedInstanceState) {
    super.onCreate(savedInstanceState);

    // Usually, you need to initialize the HERE SDK only once during the lifetime of an application.
    initializeHERESDK();

    setContentView(R.layout.activity_main);

    // Get a MapViewLite instance from the layout.
    mapView = findViewById(R.id.map_view);
    mapView.onCreate(savedInstanceState);
}
You will get an error about MapViewLite being an unresolved symbol, so use the auto completion hotkey to add com.here.sdk.mapviewlite.MapViewLite to your imports list, or add it manually.
Note: It is important to call
mapView.onCreate()to perform additional initialization tasks. Otherwise the map will not be rendered. Note that multipleMapViewLiteinstances can be created and rendered together on one screen as part of the same layout.
With initializeHERESDK() we initialize the HERE SDK before setContentView() is called. Since we use a MapViewLite in our layout, we have to initialize the HERE SDK beforehand.
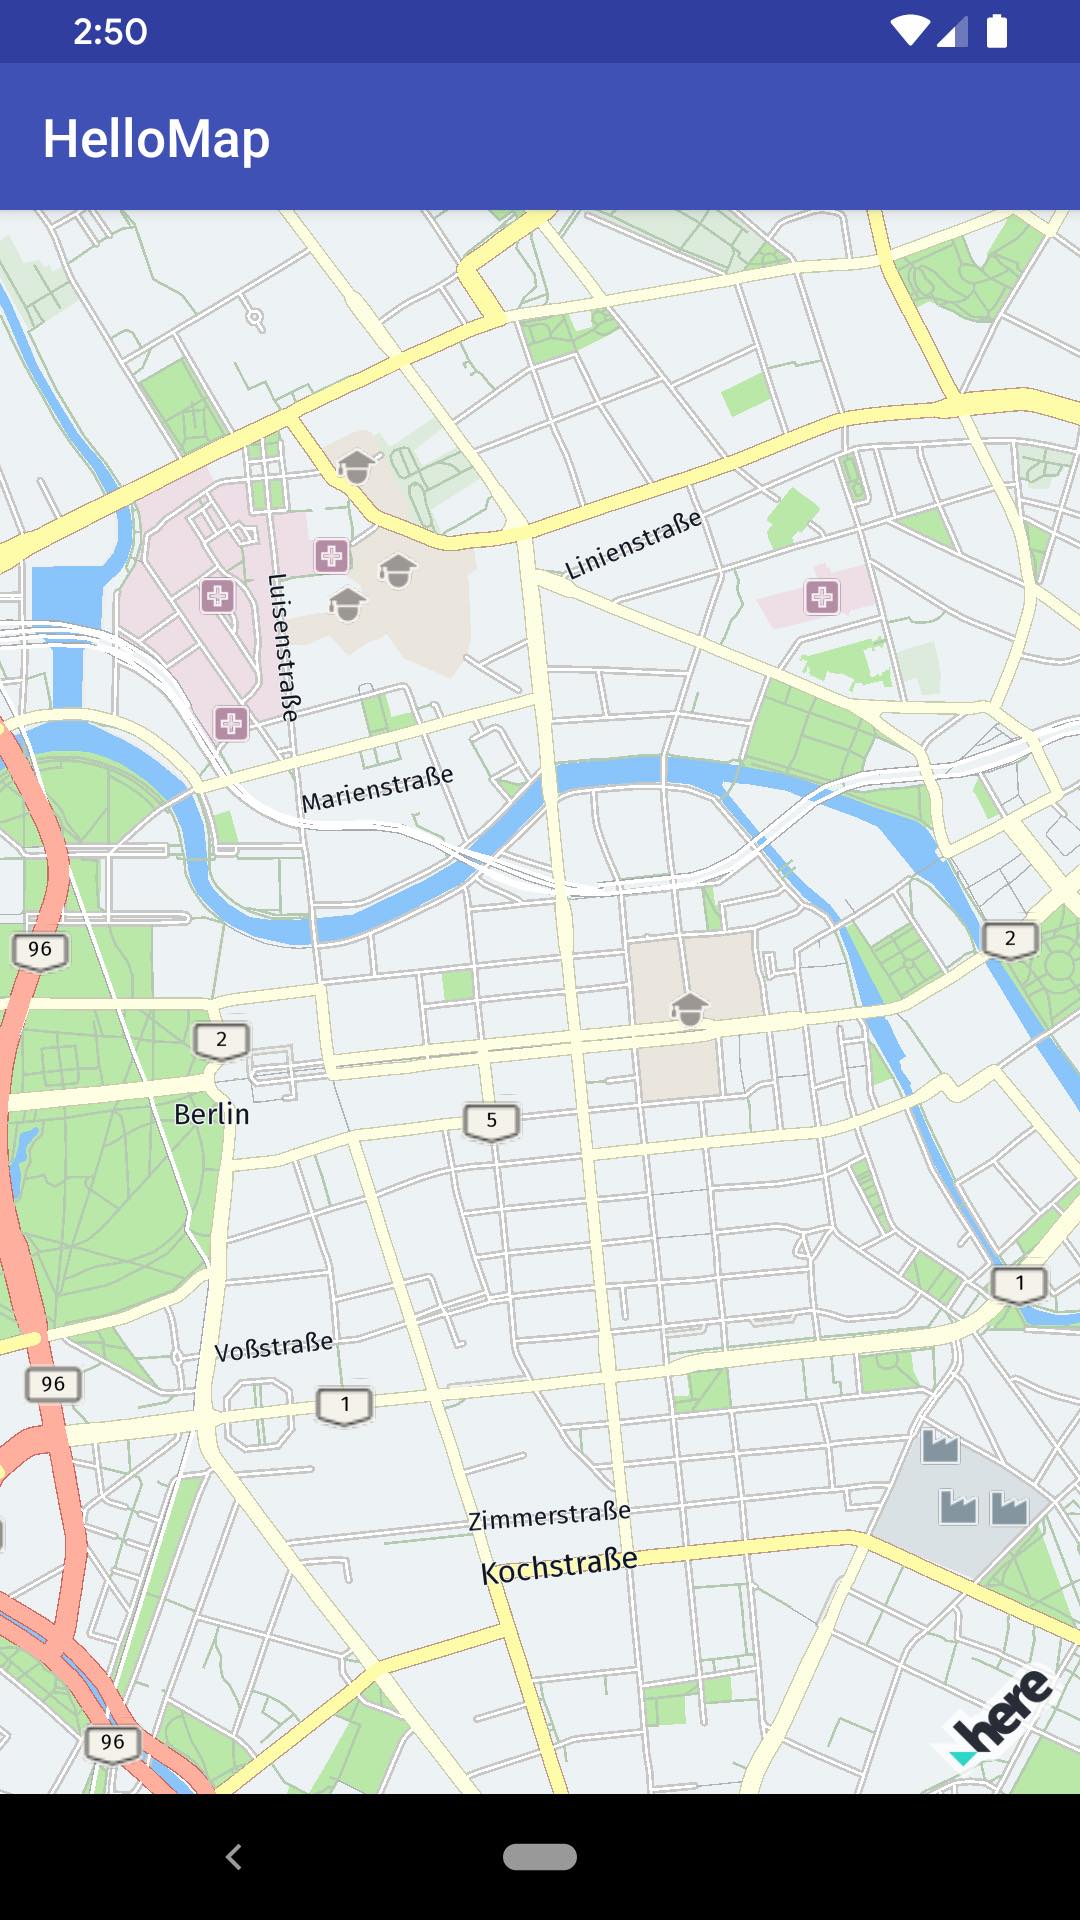
Load a map scene
Before we can see any map on the device's screen, we need to decide how the map data should be rendered. Therefore, we need to asynchronously load a scene that allows us to customize the look of the map. When we load a scene, it will use one of the default map styles the SDK is shipped with.
You can also create your own fully customized map styles. HERE provides a WYSIWYG map style editor to allow you to define your own map styles.
Loading a map scene can be done from your MainActivity class by adding few lines of code. For example, add the following method and call it when the activity has been created and all requested Android permissions are granted:
private void loadMapScene() {
    // Load a scene from the SDK to render the map with a map style.
    mapView.getMapScene().loadScene(MapStyle.NORMAL_DAY, new MapScene.LoadSceneCallback() {
        @Override
        public void onLoadScene(@Nullable MapScene.ErrorCode errorCode) {
            if (errorCode == null) {
                mapView.getCamera().setTarget(new GeoCoordinates(52.530932, 13.384915));
                mapView.getCamera().setZoomLevel(14);
            } else {
                Log.d("loadMapScene()", "onLoadScene failed: " + errorCode.toString());
            }
        }
    });
}
Again, as in onCreate(), you will have to resolve the unresolved packages after adding the above code.
Call loadMapScene() from within onCreate() - or like shown in the example apps - once the Android permissions are granted:
...
loadMapScene();
...
Note: In the example's source code, you can find a convenience class called
PermissionsRequestorto keep you away from the boiler plate code that is needed for Android permission handling. As already mentioned above, you may want to handle the permissions for your own application in a different way. There are no HERE SDK specific requirements on how to handle permissions. Most example apps do not require special permissions, so permission handling is not mandatory, but considered a good habit.
As for most callbacks available in the HERE SDK, onLoadScene() is called on the main thread when loading the scene is done. If ErrorCode is not null, it will indicate what went wrong.
From the MapViewLite, we can then access the Camera to set some custom map parameters like the location we want the map centered on, and a zoom level. You can configure the Camera as soon as you have a MapViewLite instance available. However, you will see the changes only taking effect after onLoadScene() has finished.
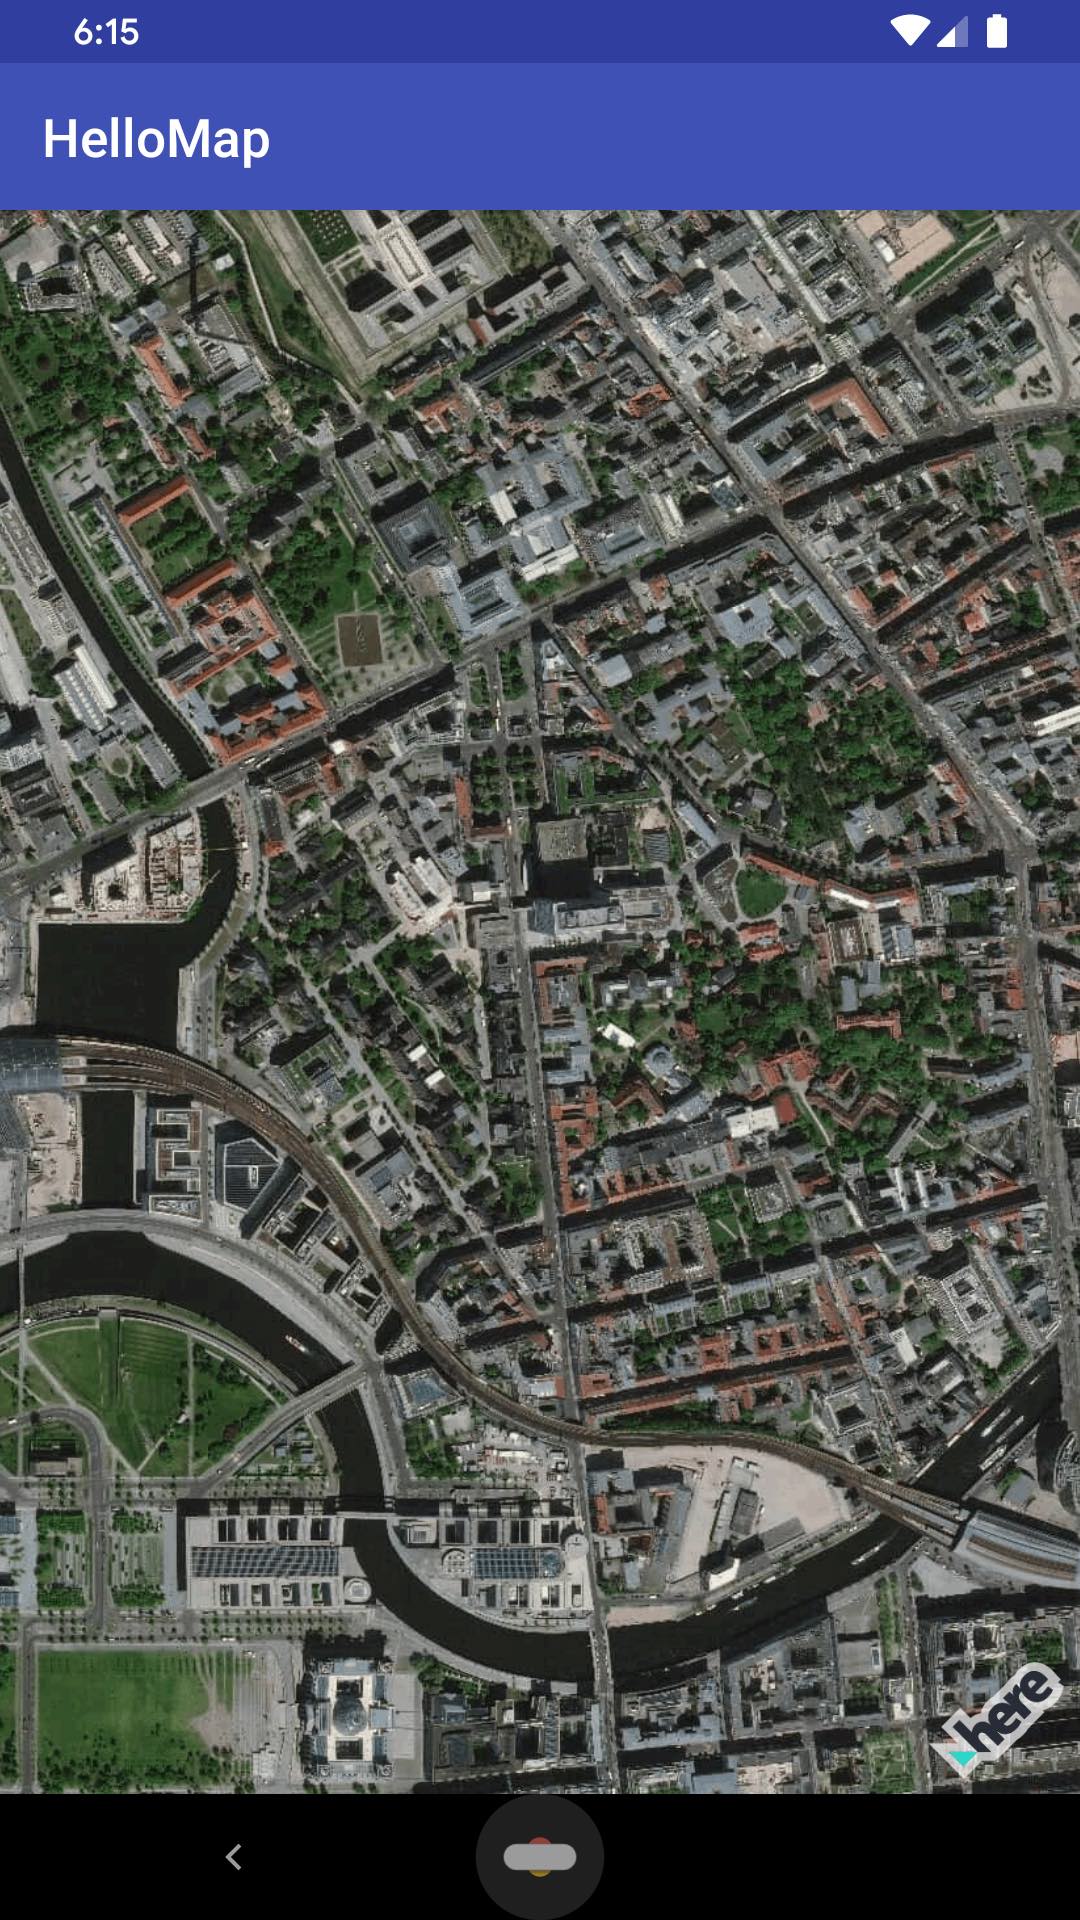
As an exercise, you can try to replace the above map style with the following: MapStyle.SATELLITE. What do you get?
Lastly, it is recommended to clean up when the activity lifetime ends: The HERE SDK for Android provides the mapView.onDestroy() method and SDKNativeEngine.getSharedInstance().dispose() - as shown above - to safely release all of its remaining resources.
Note that when an app is shutting down anyways, then it is not mandatory to dipose the SDKNativeEngine, but it doesn't do harm to do it and it is considered good practice to cancel ongoing requests and shut down the HERE SDK services. On the other hand, be careful to not dispose the HERE SDK too early when only one of your activities is destroyed and other parts of your app still need the HERE SDK. In general, it is also possible to init / dispose the HERE SDK for each Activity individually.
Additionally, it is recommended to pause rendering the map view when the Activity is paused and save the state of the map view instance:
@Override
protected void onPause() {
    mapView.onPause();
    super.onPause();
}

@Override
protected void onResume() {
    mapView.onResume();
    super.onResume();
}

@Override
protected void onDestroy() {
    mapView.onDestroy();
    disposeHERESDK();
    super.onDestroy();
}

@Override
protected void onSaveInstanceState(@NonNull Bundle outState) {
    mapView.onSaveInstanceState(outState);
    super.onSaveInstanceState(outState);
}
When you call mapView.onSaveInstanceState(outState) then all map items that are added to the map, like markers, polylines and so on, will be kept based on the bundled state - even if the screen orientation changes. However, if instead you want to create a new map view instance for each orientation change, then make sure to reinitialize the HERE SDK and call mapView.onSaveInstanceState(null) - a new HERE SDK instance or likewise a new MapView instance cannot be used together with a bundled state that was created based on previous instances.
Now it's time to build and run the app. If all goes well, you should see a HERE map covering the whole area of the view. Congratulations, you have just mastered your first steps in using the HERE SDK for Android. Thank you!
Handle Android permissions
The HERE SDK does not require any permission handling on application side when showing a map view. It automatically merges the below permissions to the AndroidManifest.xml:
<uses-permission android:name="android.permission.INTERNET" />
<uses-permission android:name="android.permission.ACCESS_NETWORK_STATE" />
Optionally, in AndroidManifest.xml, you can add inside the top-level manifest element the above permissions to be explicit about the required permissions.
Note
These permissions are not sensitive and are immediately granted upon installation by the system - they are always needed, as the HERE SDK needs to have a working internet connection. It is not a requirement to handle these permissions and there are no HERE SDK specific requirements on how to handle permissions.
However, a user can deny any permission after installation via the device's app settings. Therefore it is recommended to add permission handling to your app to notify the user upon app launch.
The accompanying example apps show how this can be done utilizing a convenience class to keep you away from the boiler plate code. Of course, you can handle the permissions for your own application in a different way - or even decide to omit it: Note that if no internet connection is available, most HERE SDK services will indicate this with an appropriate error message.
Video tutorials
Follow the HERE team in a live coding series recorded for Twitch and now available on YouTube:
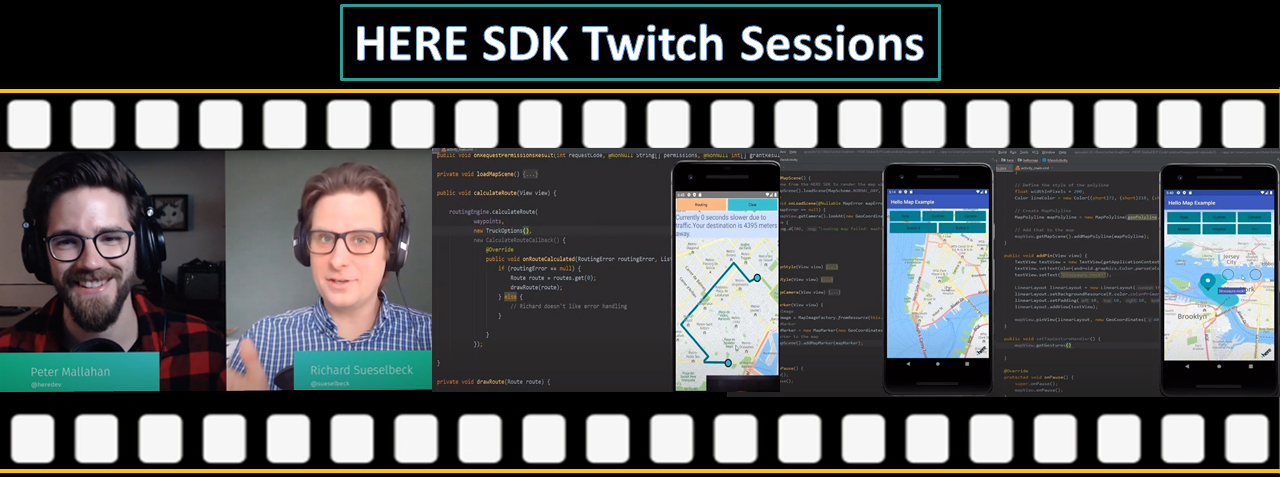
The following live coding topics are available:
- Getting started with the HERE SDK.
- Load custom and default map styles.
- Enable a night viewing mode.
- Use the map's camera features.
- Draw map markers, circles, and polylines onto the map.
- Calculate routes and show them on the map.
Note that some videos have been done for previous versions of the HERE SDK, so certain parts of the code may have received slight updates since the time of the recoding. Refer to this guide and the accompanying example apps to benefit from the most recent version of the HERE SDK.
Troubleshooting
When you run into trouble, please make sure to first check the minimum requirements and the supported devices.
- I see only a blank white map: Make sure that your HERE credentials are valid and set as described in the Get Started section above. Also, make sure that your device is able to make an internet connection. With slower internet connections, it may take a while until you see the first map tiles loaded. Please also make sure that your device time is set correctly. In rare cases, a wrongly set device time can lead to authentication issues with some backend services.
- In the logs I see "No map content will be displayed until valid config is provided.": Make sure that your code is really calling
loadScene(). - The app crashes and in the logs I see "CL_magma - Couldn't load the default shader.": Your device must support OpenGL ES 3.0. If you are running a simulator, edit your emulator settings via Settings -> Advanced -> OpenGL ES API level. If it is set to "Autoselect", try to change it to "Renderer Maximum". This happens mostly on Windows machines.
- I am unable to resolve dependency for ':app@debug/compileClasspath': Could not find :heresdk-YOUR_SDK_VERSION: Make sure that your HERE SDK AAR matches the name in your application's build gradle file. Note: This is only needed, if you reference the version explicitly. If you follow the steps above, you don't have to do that as we use
*.aaras wildcard to match any version. - I get the error "License for package Android SDK Platform not accepted." or similar: Make sure you have accepted all Android licenses, for example by installing the required tools and clicking the license button or by calling
cd /d "%ANDROID_SDK_ROOT%/tools/bin"andsdkmanager --licensesfrom your terminal. - I am seeing the following in a crash log: "Exception was thrown in Java and it was not handled.": The HERE SDK cannot handle runtime exceptions that are thrown on app side inside a callback. In such a case you will see this error log. It means that your code throws an exception in one of the HERE SDK callbacks that are handled by your application.
- I am getting a crash due to a cache lock: If an application crashes due to a
Storage.LevelDBerror or aFAILED_TO_LOCK_CACHE_FOLDERerror, follow this instruction to prevent such a crash from happening again. - I see no map and/or my HERE SDK calls do nothing: If you see the following log message "These credentials do not authorize access" then your credentials are not valid. Make sure you use a working set of credentials. Credentials from the 3.x editions are not compatible. Credentials from the Lite Edition or Explore Edition are not compatible with the Navigate Edition.
- I see graphical glitches on the map view: For some Android versions this may happen and it can be fixed by using the
MapRenderMode.texture. Find more details in the maps guide.
Need help?
If you need assistance with this or any other HERE product, select one of the following options.
- If you have a HERE representative, contact them when you have questions/issues.
- If you manage your applications and accounts through here-tech.skawa.fun, log into your account and check the pages on the SLA report.
- Join our Slack Workspace.
- If you have more questions, you can also try to look for answers on stackoverflow.com/questions/tagged/here-api.
- If you have questions about billing, your account, or anything else Contact Us.
- If you have purchased your plan/product from a HERE reseller, contact your reseller.